Showing posts with label Cargo. Show all posts

Thursday, 31 January 2013

My Way: Atelier Versace Spring 2013 Eye Makeup


wwd.com


Hello you blogders! Today I am going to show you how to recreate this amazing smokey eye. Instead of being just a plain ol' smokey eye, the makeup artists took it to a new level, by adding a couple of simple details to it. As you can see in the photo, the addition of two foil shapes, possibly applied by using lash glue, are strategically placed, and balance out the smokey eye quite nicely. Well, let's begin!

Sunday, 14 August 2011

Muted Metallics

Hello you patient readers! How are all of you?  It has been a while since I last posted, but today I am going to post an eye makeup tutorial for you guys. There will be another makeup look soon, and a brush cleaning tutorial, so bear with me. There are no links in this post. Well, onto today’s post!

This simple look is called “Muted Metallics” as you can wear this slightly shimmery look anytime of the day, and even for every occasion. It has a touch of shine to it, while still looking quite natural and wearable. I used three main shades for this look, plus one highlight. Read
below for the steps!


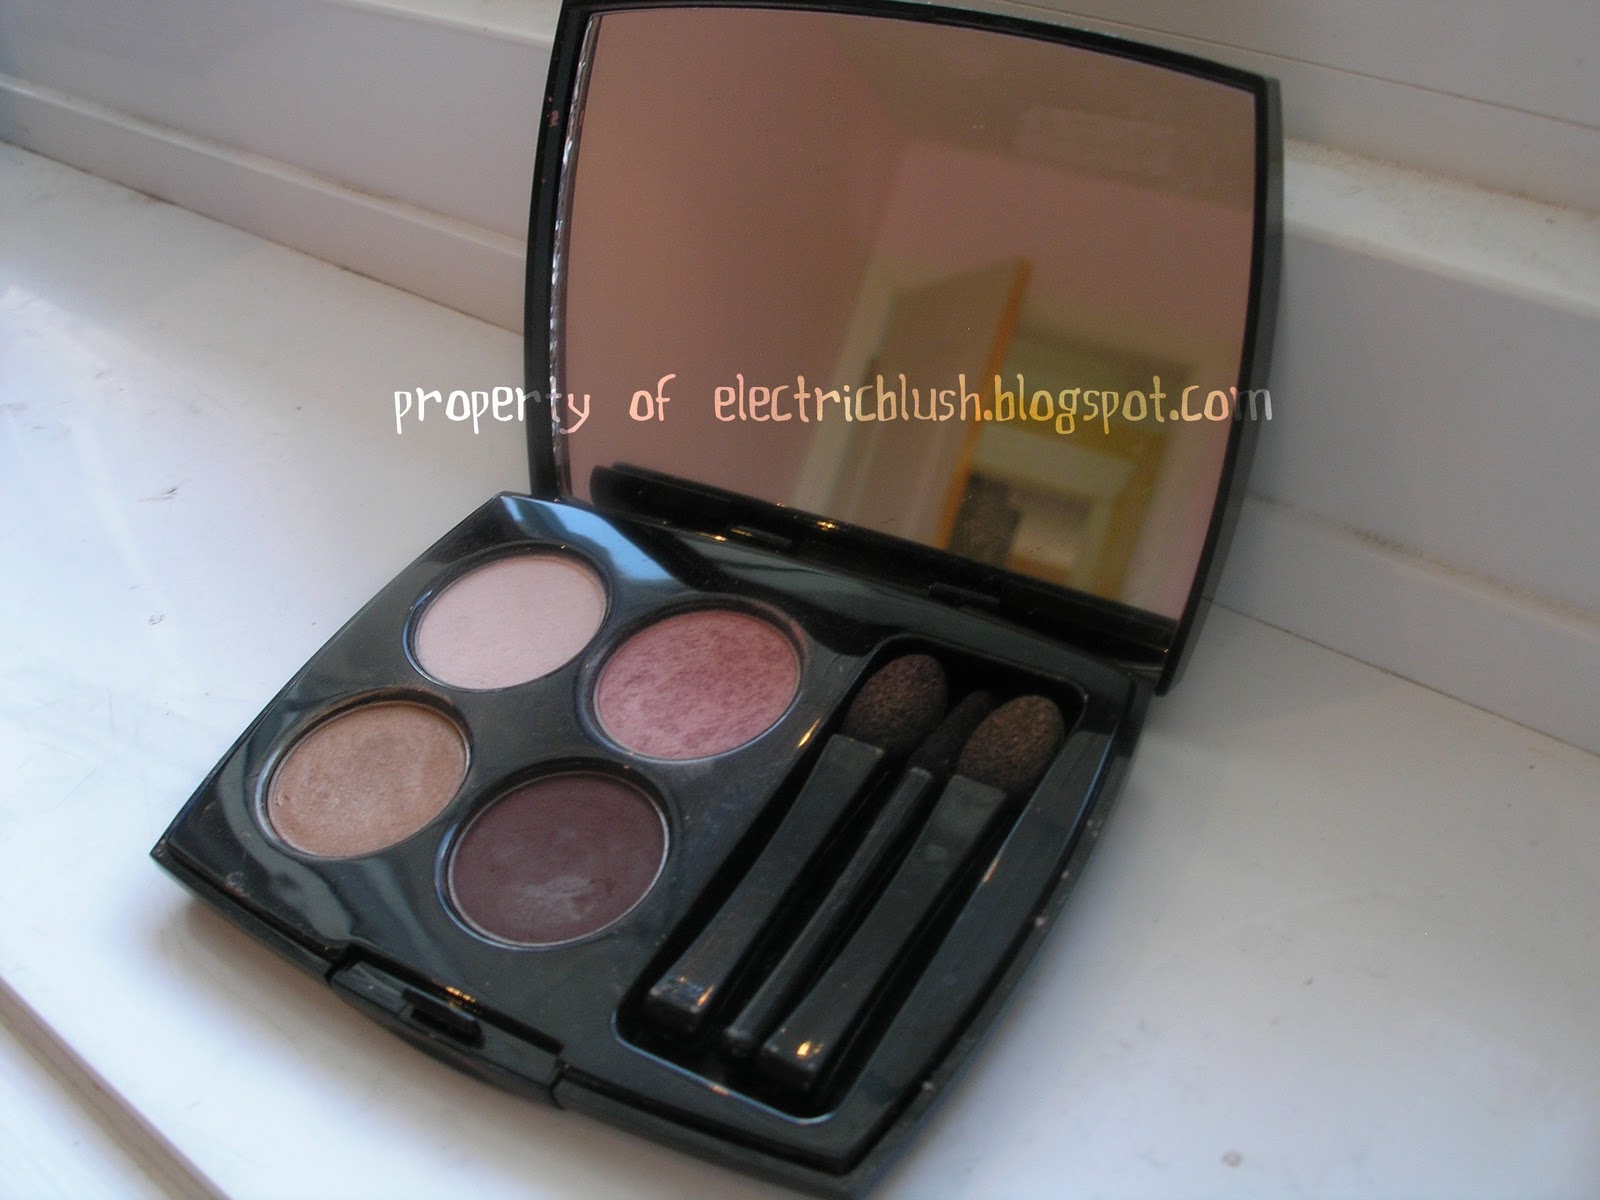
Step One: Using a clean finger or a Q-tip, apply a slightly shimmery light tan shade all over the eyelids and over the crease area. Gently blend out the edges, and apply more shadow if needed. The palette used is the Lancome Colour Design Eyeshadow Quad in Haute Sunset.


My eye looks dark in this photo because I took it when it was a bit dark in my room :P


Step Two: Using a Q-tip,find the hollows of your eyes,  and gently prod. This is where the next colour is going to go. Load the Q-tip with a matte chocolate brown eyeshadow, and apply to the outer third of the hollows of the eyes, and gently blend the colour outwards.


Step Three: Using a wet/dry eyelining palette, select a shade that is close to the one in the picture. Here I am using the Cargo Wet/dry Eyelining Palette. If you do have this palette, I am using the dark gold-brown colour.  Wet an eyelining brush, and dab off any dripping water. Quickly mix the water with the colour, until the desired consistency is reached.  Make a thin, yet noticeable line close to the upper lash line, and wing out the liner about a five millimetres. Add an extra layer of eyeliner is necessary.


Step Four: Wipe the brush and the palette dry. Selecting the same colour, place along the lower lash line, going two-thirds into the lash line.

Step Five: Smoke the colour towards the inner lash line, and widen the area of the line, slightly. This step balances out the eyelid colours. If you like, add mascara, for a more defined makeup look.


Step Six: Add a touch of a highlighting colour in the inner corners of the eyes, and along the tear ducts. Pat the colour to blend it in.


There you go, a simple look that can be worn anywhere, or for any occasion. I hope that this article helped you to incorporate a new makeup look into the many (or not so many) looks that you already use. A new makeup post will be put up tomorrow, with a picture at the end of my braces, just for a little fun. Thanks for reading and stay posted for more looks!


Happy Trying


^_^

Monday, 6 June 2011

Cobalt Thunder

          Cobalt is making a comeback in both the beauty and fashion world this spring. What is cobalt exactly? Think about it in this way: a charming mixture of rich indigo and a loud dark blue. Cobalt is used in fashion and art, because of its ability to be fresh and classic at the same time.  
This is a slightly lighter version of cobalt
 It’s bold, yet wearable, without looking too overpowering. Cobalt also holds the title of being a colour that works on most skin tones. It makes a great addition to any wardrobe or makeup bag, so why not give it a try? I put together an easy way to wear this fearless trend. This simple tutorial will show how you can incorporate this wonderful colour into your life. Not only is this an easy tutorial, it is also usable for the people who are willing to try this colour without making a large commitment to the trend. The created look is called “cobalt thunder”, because of the “electric” shade of cobalt being used. The colour used is from one of my favourite brands, Cargo Cosmetics. I am using the cobalt colour on the upper right corner of the Wet/Dry Eyelining Palette ($32.00 CAD). If possible, you can use any other cobalt eyeliner/shadow, but it has to one that can be applied wet or dry. Now, grab your makeup, sit back, and enjoy the transformation!


1.      Start with a freshly washed and moisturized face. Wait until the moisturizer sinks into your skin, and then begin prepping your eye area. Using a large, fluffy brush (or a clean ring finger), apply a small amount of pressed powder onto your all over your lids, including the under-eye area, eyelids and brow bone. Gently blend it into your skin by lightly patting your ring finger or the brush, to avoid injuring the eyes.


2.      Find a thin eye lining brush or a sponge-tip applicator, and wet it. Pat the tool once on a paper towel to get rid of any excess water. It should be damp, and not soaking wet.
3.      Now, mix around the brush in the colour.  Draw a couple of practice strokes on the back of your hand until you reach the perfect consistency with the wet eyeliner. The colour should be vibrant while still being dark.
4.      To get a perfect line every time, lean the hand you’re going to use to line your eyes against your face, for extra support. Then, make a line starting from the center out, then from the inner corner to the center of your eye. Avoid pulling on your eyelid. Redraw the whole line with a steady hand


5.       Wing out the liner until you reach the end of your eye socket (a little bit past the lash line. To wing out the liner, go to the outer edge of the eyelid, and draw a slightly angled line out towards the eyebrow. Repeat steps on the other eye. Lastly, apply a coat of mascara on the top and bottom eyelashes (optional, as the look is fine without it too)


         There you go :) You just completed a bright and simple look with hardly any effort. Have a look you want me to explain? Write your suggestions in the comments below.


Happy Practicing ^_^