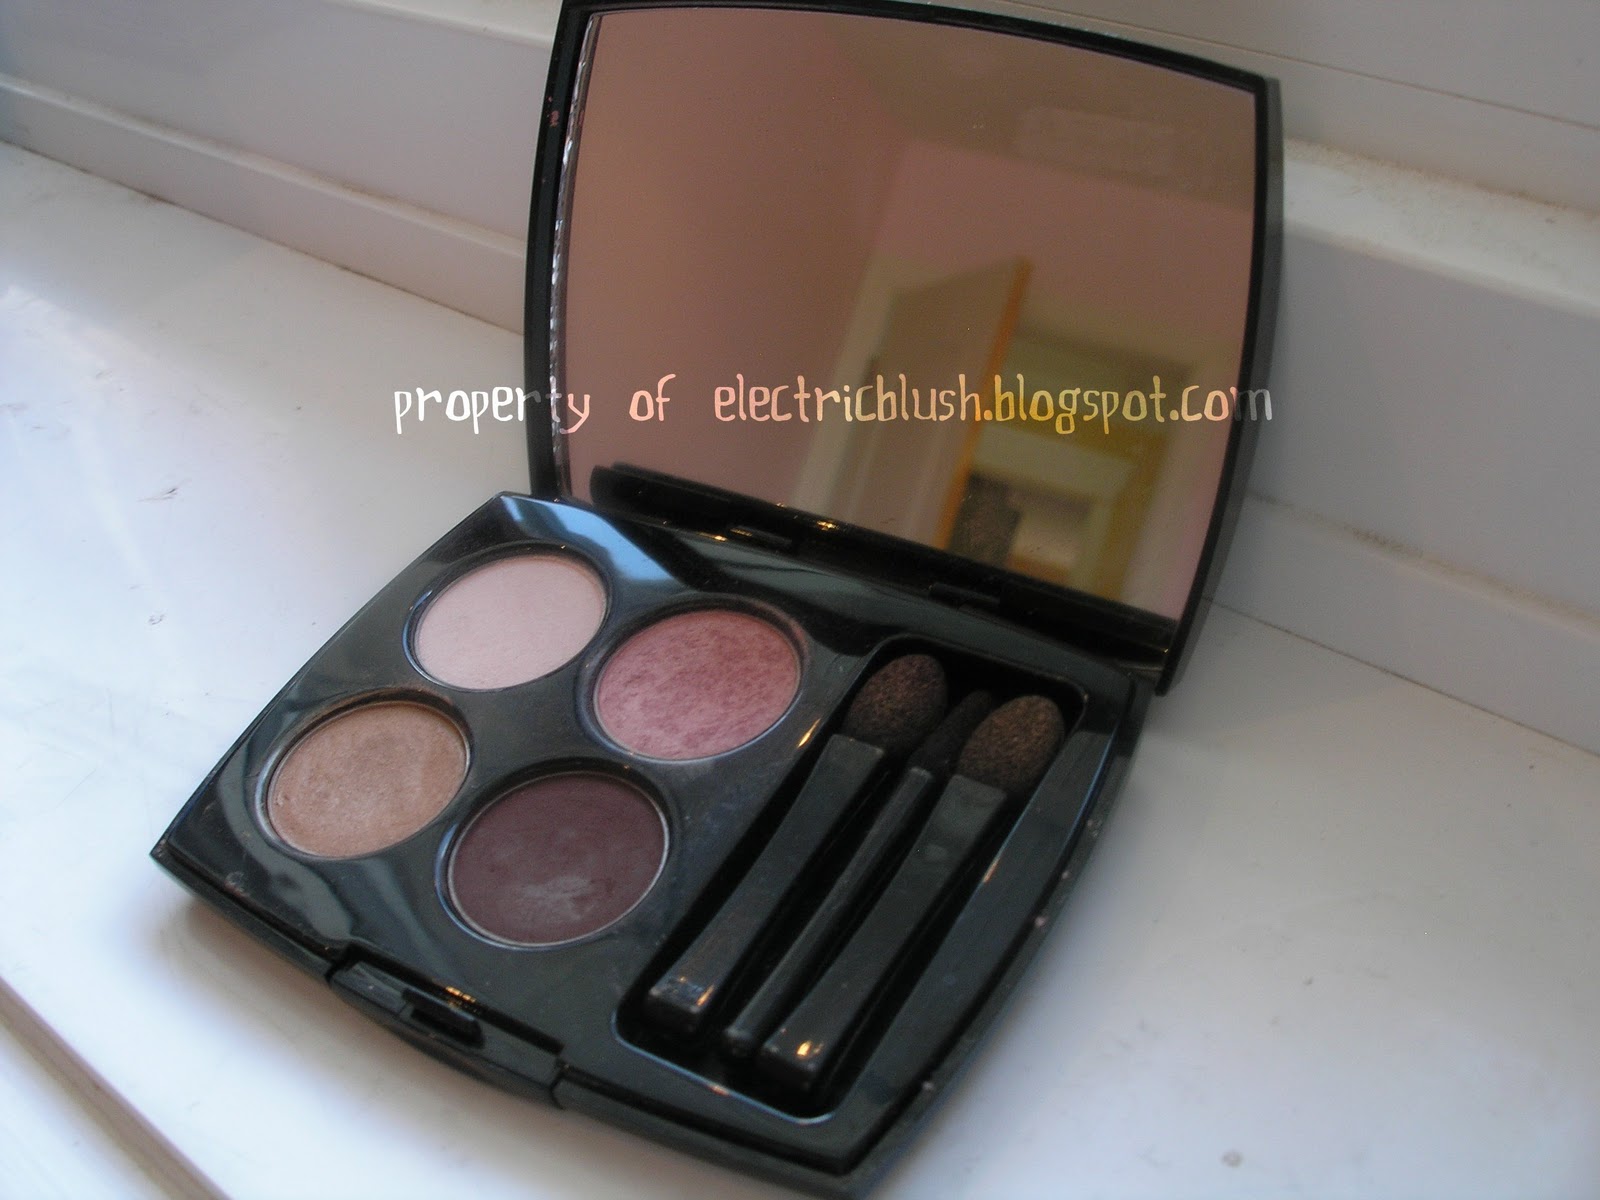
Showing posts with label Lancome. Show all posts

Thursday, 31 January 2013

My Way: Atelier Versace Spring 2013 Eye Makeup


wwd.com


Hello you blogders! Today I am going to show you how to recreate this amazing smokey eye. Instead of being just a plain ol' smokey eye, the makeup artists took it to a new level, by adding a couple of simple details to it. As you can see in the photo, the addition of two foil shapes, possibly applied by using lash glue, are strategically placed, and balance out the smokey eye quite nicely. Well, let's begin!

Friday, 6 July 2012

My Summer Must-Haves!

Hello you fabulous readers! Enjoying all of this wonderful sunshine? I love summer, its always so mysterious and fun. Its the only season where you can try everything and anything without any restrictions, and better yet, no studying! This summer seems perfect, I just have a feeling its going to be one of the best summers yet. It was so nice out today, that I decided to make a list of a few of my summer must-have products for you. Well, lets get rolling!

Lancôme Juicy Tubes in Raspberry Ice
This lip gloss shade is perfect for summer, as it has just the right amount of shimmer in it, as is non-sticky which is always a plus. This gloss had a delicious fruity scent and taste, which reminds me of warm weather.


Clinique Moisture Surge Tinted Moisturizer SPF 15
Summer calls for a simple foundation/skin routine. I love using this product as you just use a small dab and you're good to go. It contains a small amount of sunscreen, and is also oil-free. The coverage is very buildable, and does not get cakey or greasy looking. The product gives your skin a healthy glow. Another plus, is that the tube last forever! I've been using mine for about 3 months, a few times a week, and it just recently became half-full! 


Neutrogena Fresh Foaming Cleanser
Although makeup is fun to experiment with, it can be quite a bummer in the wee hours of the night, to remove. After all those late night movie marathons with friends or even all-day barbeques, it does not seem as enticing to spend an extra 5-10 minutes removing makeup. I make sure I remove all of my makeup, but let`s face it, at 1 am most people are too tired to do a through job. That`s where this wonderful cleanser comes in, and cleanses your skin into squeaky clean perfection.


Thursday, 1 March 2012

Pretty Spring Pastels Tutorial

Hello my wonderful readers! How are you all doing? Today feels like a tutorial day, so be prepared for the new look I came up with. I am off of school for about 10 days, because of the Teacher’s Convention so stay updated on upcoming posts. I hope you enjoy wearing this look, as I had a bit of fun making it. Keep scrolling down for the details, and feel free to give your opinions about this look after you finish reading. Well, onto today’s post!

As spring is slowly making is appearance, it’s good to keep a few soft, pastel looks in your repertoire. Now is the perfect time to incorporate these feminine yet bold looks. I am going to be using a palette that I previously reviewed, as I believe that this palette is perfect for spring, because of the modern shades of teal. The main palette I am using is the Lancôme Paris Colour Design: Eye Brightening All-In-One 5 Shadow and Liner Palette ($54.00 CAD), in Teal Fury.  Let’s get started!


Step 1: Before you apply any eyeshadow, prime your eyelids, to reduce creasing. Instead of using an actual primer, I am going to use a little bit of foundation. This was a sample I obtained from a Lancôme counter. The colour was too a couple of shades too dark, and was on the yellow-ish brown side. It worked out perfectly, as it did a splendid job of covering my dark circles.
The foundation was the Lancôme Teint Miracle Foundation ($44.00 CAD, department stores)


Step 2: The second thing you are going to do, is apply a sheer crème eyeshadow all over you eyelids, gently patting the eyeshadow onto the lids, then gently blending it out with a clean finger. Using a sheer crème shadow can help prevent creasing of the main eyeshadow colours, while making blending the shadows much easier. Try: Revlon Illuminance Crème Shadow in Va Va Bloom ($ 8.87 CAD, drugstores)


Step 3: Choose a teal-green eyeshadow, and apply it to the outer two-thirds of your eyelids. Gently blend the shadow, on the outer corners. Also, blend the shadow with the peach créme shadow, creating a soft gradient effect. This is the look you want to achieve, with a very soft, approachable eyeshadow combination. Bring a  bit of the colour down to the lower lashline, and blend it out.


Step 4: To brighten up the eyes, line your lower waterline with a white eyeliner pencil.To achieve maximum results, gently dab a Q-tip along the lower waterline, to absorb any fluid, and then apply the liner. The white liner will give the illusion of larger, and much brighter looking eyes.Make sure you are using a matte pure white eyeliner, it gives a more natural effect. I used The Body Shop Eye Definer in 05 White ( $11.00 CAD, The Body Shop).


Step 5: The next step, is to line your upper lashline. Use a dark brown eyeliner, as it looks more natural than a black eyeliner. Make a thin line starting from the inner corners, and make a small tapered wing at the outer corners, blending out the line when you finish. Make tiny swift dots with your eyeliner on your lower lashline, working from the outer part, until you get one third of the way lined. Gently pat the liner to blend it. This creates the appearance of thicker lashes, and a slight change in the shape of your eye. The liner used was the Lancôme Le Crayon Khôl in Black Coffee ($28.00 CAD, department stores)


 Step 6: To finish off this simple and fresh look, use a thin coat of black mascara, to seal the deal. Coat the top lashes, and put the remainder of the mascara on your lower lashes. I used Lancôme Hypnôse Drama in Excessive Black ( $31.00 CAD)


Well, there you go! A simple, and clean eyeshadow look, perfect  for spring. This is just one of the Spring looks I came up with, so keep staying up to date, for the next one. Enjoy the rest of your day everyone! Thank you for reading.


Happy Springtime


^_^


Wednesday, 18 January 2012

Lancôme Colour Design: 5 Shadow and Liner Palette Review

Hello my wonderful readers! How are you? Today is a product review day, and I chose one of my most favorite palettes to date. The full name of the product is the Lancôme Paris Colour Design: Eye Brightening All-In-One 5 Shadow and Liner Palette. Phew! Other than being known for exquisite cosmetics, Lancôme is also known for the long names of their products. All cheesy jokes aside, keep scrolling down to read my full review on this product. Well, onto today’s post!


This palette first caught my eye when I was browsing around the makeup counters at one of The Bay department stores. It was a few minutes to closing, and I saw this palette and loved how the colours looked. You do not find many people wearing teal-green shadows anymore, but I believe that more people would change their mind about those colours if they took a look at the palette. I only recently saw a few other cosmetic brands posting advertisements with teal and blue eye shadows, which made me feel happy to see them. These modern shades of teal are perfect for transitioning from winter to spring (or if you live somewhere cold like me, winter to even more winter!). I am a big fan of Lancôme, as their products never fail to impress. This palette has a lot to offer, and I hope you all feel the same way after reading my review. 


The first feature that deserves attention is how they give you a lot of eyeshadow to experiment with. I have two other Lancôme palettes, and both of them are only half-finished, as they give you a fair amount of product. This palette is different from the other two, as this one numbers each of the eyeshadow steps, with a number.


 As soon as you open the box, you will find a folded instructions booklet. One side shows you how to achieve a wearable “day” look. The reverse side will show you how to achieve a “night” look. This is a very useful resource for those who are just starting out with makeup.


The instructions and numbered steps is not why I had bought the palette. It was purchased because of the beautiful colours, and how they look flattering on a lot of skintones. I was a bit worried that the colours would not look very flattering on my skintone, but as soon as I applied the bright teal shade to my lids, I loved the way it looked. Here are the swatches for all the colours below:


For some unknown reason, this photo keeps uploading so that it rests sideways.

Another great feature of the palette is that every shade is numbered 1-5, so you know which one to apply. Another thing I would like to compliment is how the shades (like always) are smooth, and not chalky, and do not crease on me. Also, they are all perfectly pigmented, not too bright, and not too subtle. You can easily amplify the brightness with another layer of colour for a more dramatic effect, but I believe the colours make the right amount of impact as it is.

 
I would definitely recommend buying this palette, especially during the winter season, as you will get a lot of chances to experiment with the colours, as they just scream winter glamour. Pictures will go up; I just have to keep studying, for the time being. So go to your nearest Lancôme counter and try out the palette for yourself!  Well, there you go! Thank you for reading this post, and enjoy the rest of your day.

Happy Studying


^_^

Sunday, 14 August 2011

Muted Metallics

Hello you patient readers! How are all of you?  It has been a while since I last posted, but today I am going to post an eye makeup tutorial for you guys. There will be another makeup look soon, and a brush cleaning tutorial, so bear with me. There are no links in this post. Well, onto today’s post!

This simple look is called “Muted Metallics” as you can wear this slightly shimmery look anytime of the day, and even for every occasion. It has a touch of shine to it, while still looking quite natural and wearable. I used three main shades for this look, plus one highlight. Read
below for the steps!


Step One: Using a clean finger or a Q-tip, apply a slightly shimmery light tan shade all over the eyelids and over the crease area. Gently blend out the edges, and apply more shadow if needed. The palette used is the Lancome Colour Design Eyeshadow Quad in Haute Sunset.


My eye looks dark in this photo because I took it when it was a bit dark in my room :P


Step Two: Using a Q-tip,find the hollows of your eyes,  and gently prod. This is where the next colour is going to go. Load the Q-tip with a matte chocolate brown eyeshadow, and apply to the outer third of the hollows of the eyes, and gently blend the colour outwards.


Step Three: Using a wet/dry eyelining palette, select a shade that is close to the one in the picture. Here I am using the Cargo Wet/dry Eyelining Palette. If you do have this palette, I am using the dark gold-brown colour.  Wet an eyelining brush, and dab off any dripping water. Quickly mix the water with the colour, until the desired consistency is reached.  Make a thin, yet noticeable line close to the upper lash line, and wing out the liner about a five millimetres. Add an extra layer of eyeliner is necessary.


Step Four: Wipe the brush and the palette dry. Selecting the same colour, place along the lower lash line, going two-thirds into the lash line.

Step Five: Smoke the colour towards the inner lash line, and widen the area of the line, slightly. This step balances out the eyelid colours. If you like, add mascara, for a more defined makeup look.


Step Six: Add a touch of a highlighting colour in the inner corners of the eyes, and along the tear ducts. Pat the colour to blend it in.


There you go, a simple look that can be worn anywhere, or for any occasion. I hope that this article helped you to incorporate a new makeup look into the many (or not so many) looks that you already use. A new makeup post will be put up tomorrow, with a picture at the end of my braces, just for a little fun. Thanks for reading and stay posted for more looks!


Happy Trying


^_^